Guide to Adding a New User in Akeneo
Managing user roles and access within your Akeneo platform is crucial for maintaining an efficient workflow. This guide provides a detailed step-by-step process to add a user in Akeneo, ensuring that your team can customize their working environment effectively.
Step-by-Step Process to Add a User in Akeneo
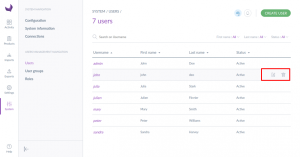
- Navigate to User Management: Start by accessing the System menu, then click on the Users option. This action will direct you to a page where all existing users are listed.
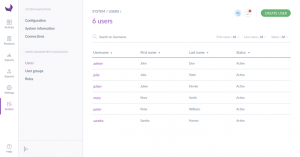
- Create a New User: At the user list page, click on the “Create User” button to begin adding a new user.
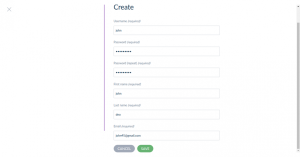
- Enter User Details: Fill in the essential details for the new user:
- Username
- Password
- First Name
- Last Name
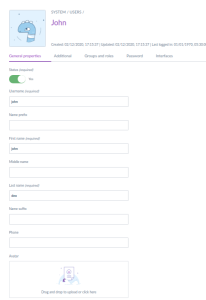
- General Properties Tab: Continue filling in the general information:
-
- Status (Active/Inactive)
- Name Prefix
- Middle Name
- Name Suffix
- Phone
- Avatar (optional)

-
- Additional Settings Tab: Define the default settings for the user, which can be adjusted later if necessary:
- Catalog Locale
- Catalog Scope
- Default Tree
- Product Grid Filter
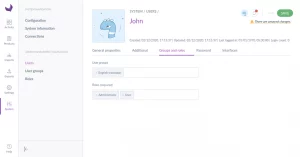
- Groups and Roles Tab: Assign the appropriate user role and group to define access levels and permissions.
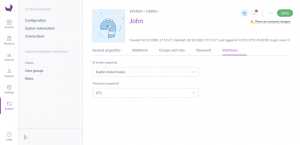
- Interface Preferences Tab: Set the default interface language and timezone for the user:
- UI Locale
- Timezone
- Save the Settings: After completing all fields, click the “Save” button to finalize the user creation. You can then manage this user’s details or set further customizations by selecting their profile from the user list.
Managing User Access and Preferences in Akeneo
By ensuring that each team member has the appropriate access and preferences set up in Akeneo, you streamline the product information management process, enhancing productivity and collaboration across departments.


